EC-CUBE4 での マイグレーション する方法のご紹介します。
マイグレーションとは言ってもカラム変更やテーブル変更はマイグレーションを使用せず、Traitファイルを使用して更新しますので、ここでのマイグレーションはデータの変更を行います。
後日、Traitファイルを用いたDBカラムの変更を紹介してします。
マイグレーション方法
マイグレーション作成
では、早速マイグレーションファイルを作成しましよう。
マイグレーション作成コマンド
$ <span>php bin/console doctrine:migrations:generate</span>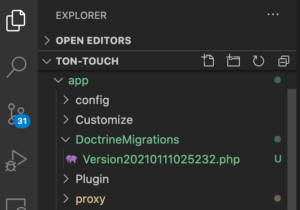
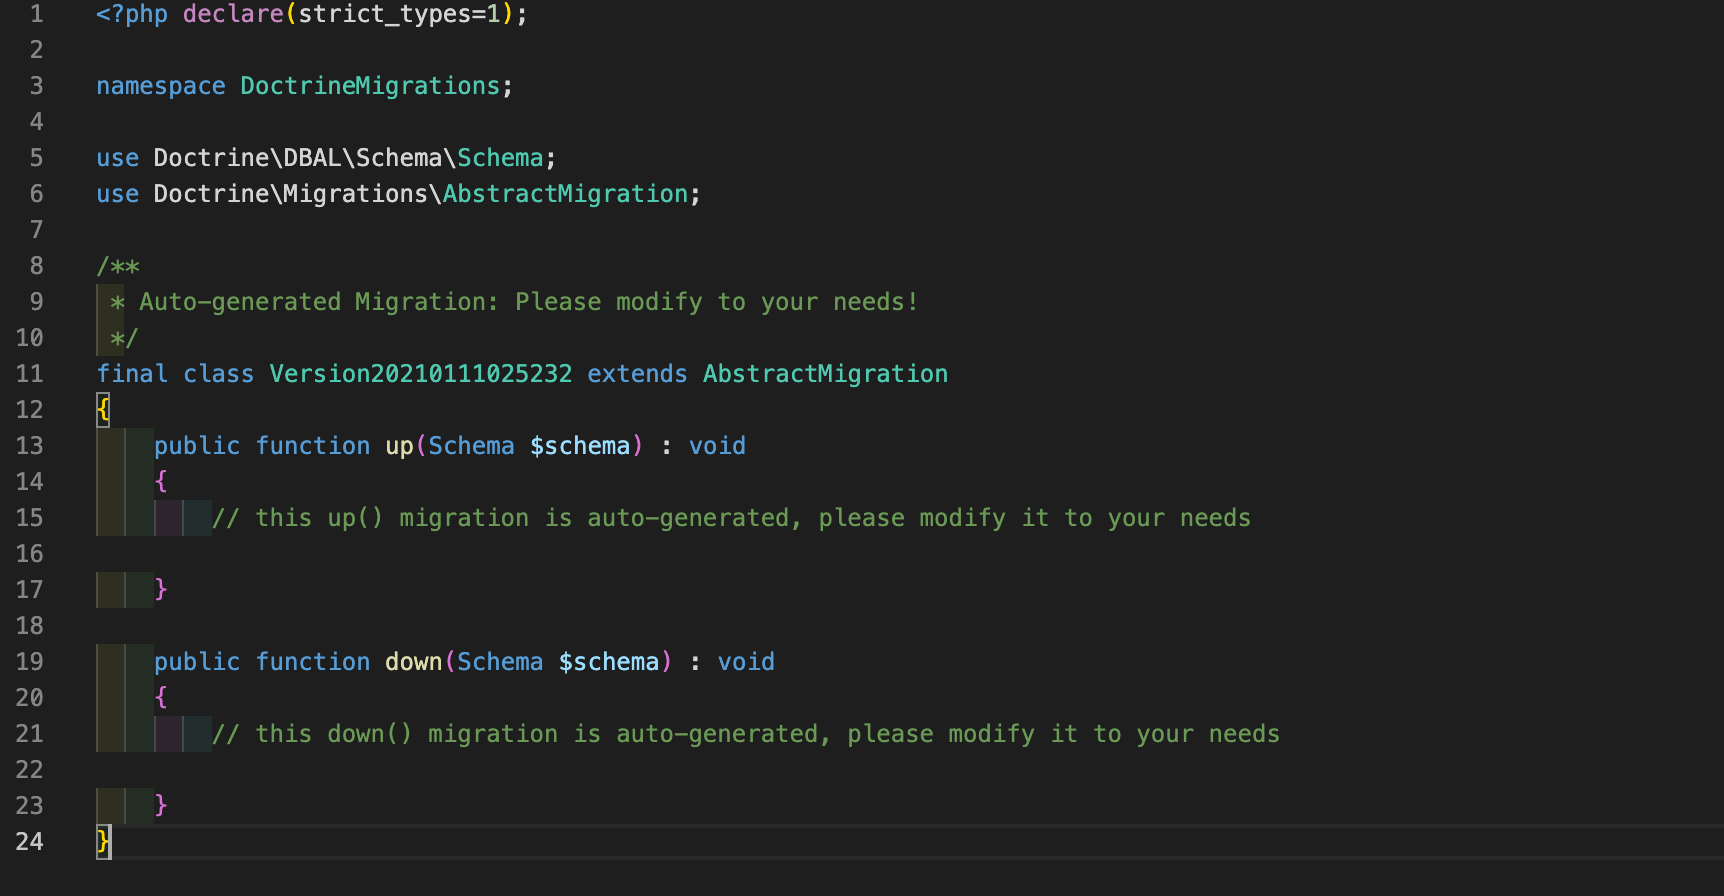
Version20210111025232.phpのように生成されたかと思います。
<?php declare(strict_types=1);
namespace DoctrineMigrations;
use Doctrine\DBAL\Schema\Schema;
use Doctrine\Migrations\AbstractMigration;
/**
* Auto-generated Migration: Please modify to your needs!
*/
final class Version20210111025232 extends AbstractMigration
{
public function up(Schema $schema) : void
{
// this up() migration is auto-generated, please modify it to your needs
}
public function down(Schema $schema) : void
{
// this down() migration is auto-generated, please modify it to your needs
}
}
マイグレーション実行
上記のマイグレーションのファイルに変更内容をup()に記述していきます。
down()にはDB定義のロールバックに必要な処理を記述します。
マイグレーション実行コマンド
$ <span>php bin/console doctrine:migrations:migrate</span>ファイル指定マイグレーション実行コマンド
$ php bin/console doctrine:migrations:execute 20210111025232 –-up
Version**yyyymmddhhmmss**.phpの日付の部分を指定する。
コマンド入力すると、
<span>Application Migrations</span><span>WARNING!
</span><span style="background-color: inherit; color: inherit; font-family: inherit;">You are about to execute a database migration that could result in schema changes and data loss. Are you sure you wish to continue? (y/n)</span>こんなこと、聞かれますがyと入力して実行しましょう。
これでデータが変更されたと思います。
マグレーションのサンプル
データ変更するサンプルの紹介します。
<?php declare(strict_types=1);
namespace DoctrineMigrations;
use Doctrine\DBAL\Schema\Schema;
use Doctrine\Migrations\AbstractMigration;
/**
* Auto-generated Migration: Please modify to your needs!
*/
final class Version20210111025232 extends AbstractMigration
{
public function up(Schema $schema) : void
{
// this up() migration is auto-generated, please modify it to your needs
$productId = $this->connection->fetchColumn(“SELECT id FROM dtb_product WHERE product_name = ‘サンプル’“);
$this->addSql(“INSERT INTO mtb_order_status (`id`, `name`, `sort_no`, `discriminator_type`) VALUES
(10, ‘サンプル_1’, 3, ‘orderstatus’),
(11, ‘サンプル_2’, 4, ‘orderstatus’);
“);
}
public function down(Schema $schema) : void
{
// this down() migration is auto-generated, please modify it to your needs
}
}
以上です、お疲れ様でした!
おわりに
最後までご覧いただきありがとうございます。
今後冒頭でも説明したTraitファイルを使用してデータベースのカラム追加・変更してみようと思います。
ちなみ、EC-CUBE4のソースはこちらです。https://www.ec-cube.net/product/4.0/


コメント